
Installation
- Install the plugin with the HikaShop or Joomla installer, then publish it in the plugin manager (Hikashop - Mailchimp).
- In your Mailchimp account, open your profile, Extras, API keys, and create a key (or use an existing one).
- Open the settings of the plugin, paste the key in "API Key" and save once. The "List / Audience" field then shows your Mailchimp audiences: choose the one your customers must join and save again.
- In HikaShop, open System, Order statuses and adapt the statuses ticked in the "MailChimp" column that the plugin adds: they are the statuses at which an order is sent to Mailchimp.
- For the consent modes, create the field first in HikaShop, System, Custom fields (a checkbox, dropdown or radio field on the user table), then choose it in the plugin.
The plugin sends the orders, their products and customers to Mailchimp, so that you can build your campaigns on them, and subscribes the customers to the audience. The language of the customer is given to Mailchimp as well.
Configuration
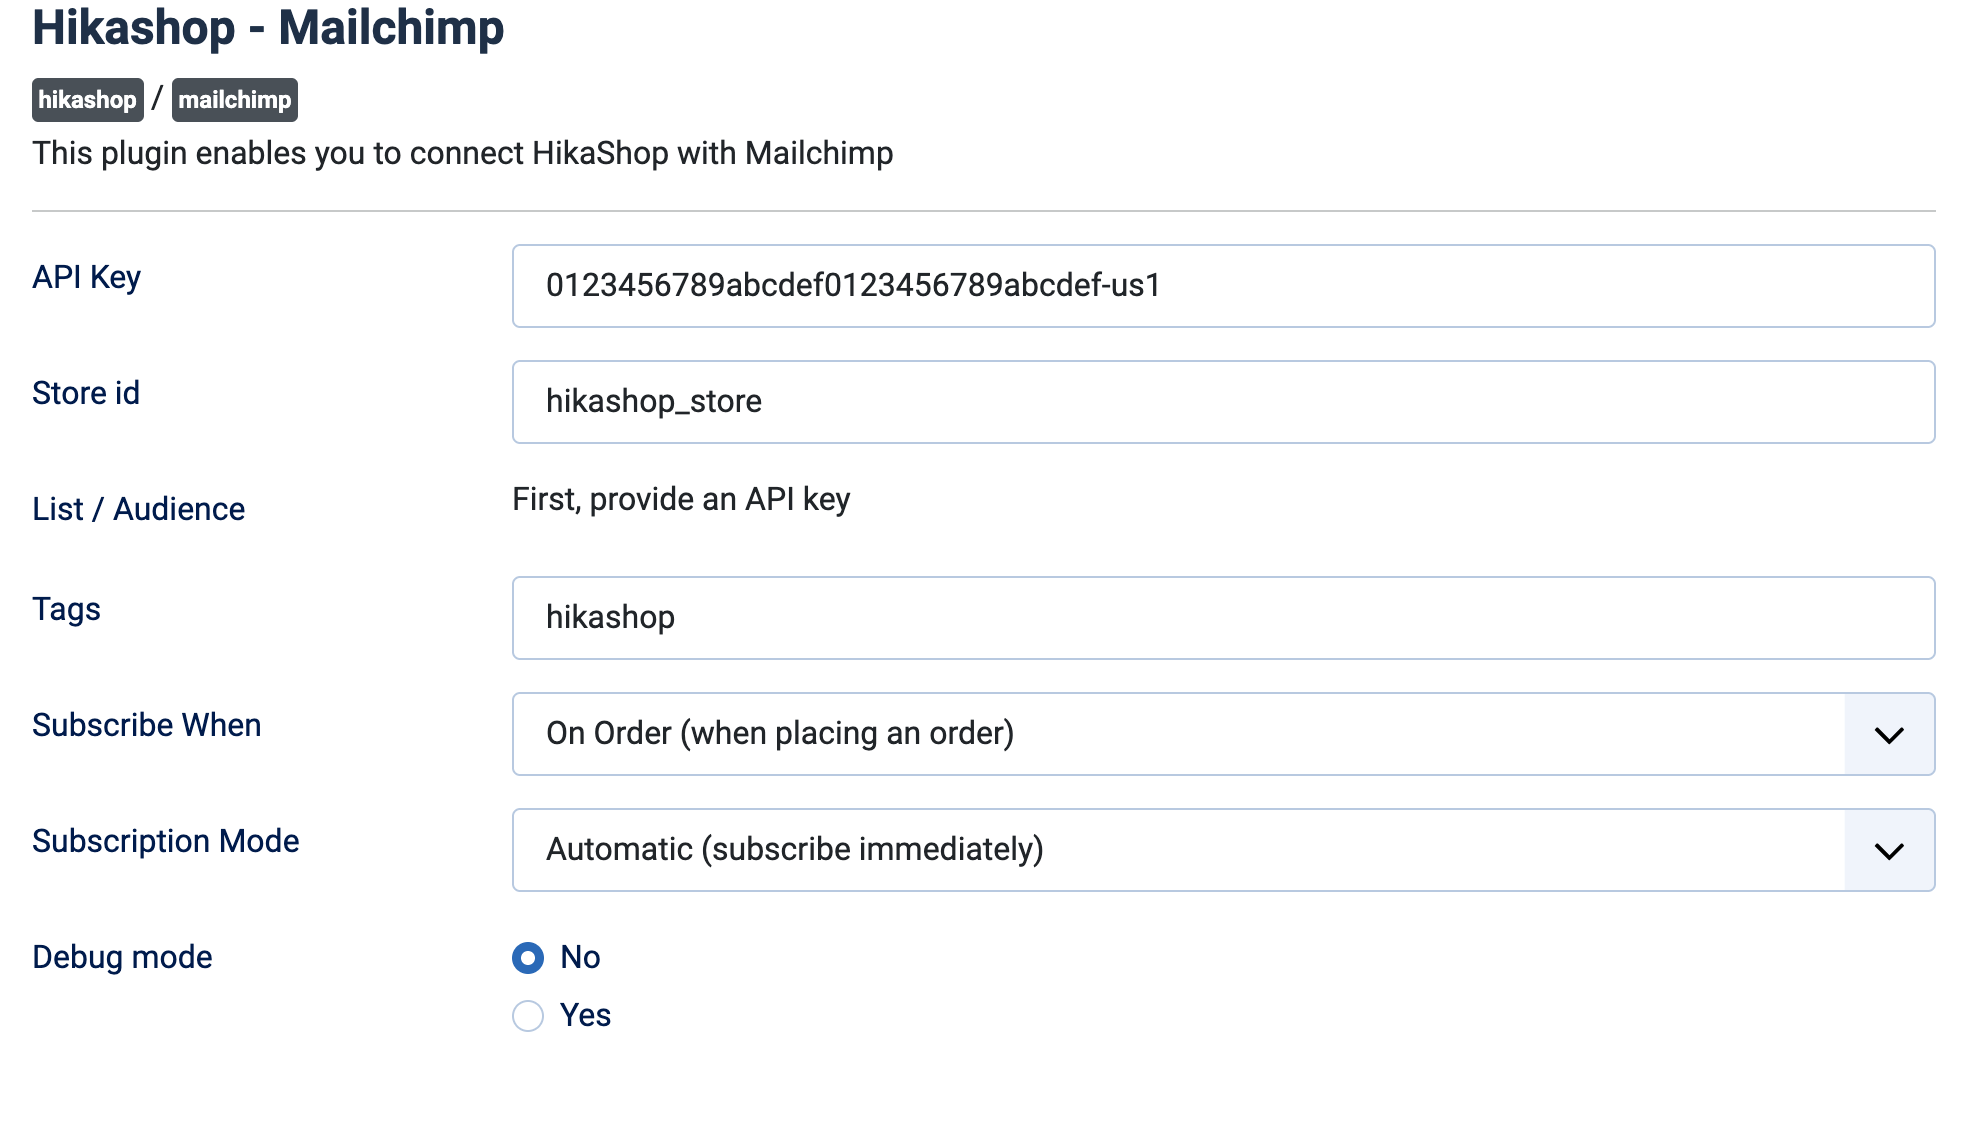
- API Key: your Mailchimp API key. Without it nothing is sent.
- Store id: a name of your own that ties your shop data to your API key in Mailchimp. Empty, hikashop_store is used.
- List / Audience: the Mailchimp audience your customers are subscribed to. It shows "First, provide an API key" until a key is entered and saved.
- Tags: tags given to the customers added to the audience, separated by commas. A customer who already has tags keeps them and receives these in addition. Empty: no tag.
- Subscribe When: On Order (default) subscribes when an order is placed, On Registration when an account is created, Both at each of the two.
- Subscription Mode: Automatic (default) subscribes at once. Double Opt-in has Mailchimp send a confirmation email first. Consent Field only subscribes the customers who gave their consent in a custom field. Consent + Double Opt-in requires both.
- Consent Field: shown with the two consent modes. The custom field of the user table (checkbox, dropdown or radio) that holds the consent. Empty, nobody is subscribed. If you have no such field, the plugin shows a link to create one.
- Consent Required Value: shown with the two consent modes. The value of that field that means yes: 1 for a checkbox (default), the value of the yes option for a dropdown.
- Debug mode: No by default. Yes writes each step of the plugin to the HikaShop log.
Troubleshooting
- "First, provide an API key": shown instead of the audiences. Paste the key and save.
- "Could not connect to MailChimp", followed by Mailchimp's answer: check the key, copied again from your Mailchimp profile without spaces, and that your server can reach Mailchimp.
- "No suitable consent fields found": create a checkbox, dropdown or radio field on the user table in System, Custom fields, then reload the settings.
- A customer is not subscribed: turn on Debug mode and read the HikaShop log. "did not give newsletter consent" means the consent field was not ticked, "No list selected" means no audience is chosen, "Invalid API Key" means the key is wrong, and "already in Mailchimp list" means the customer was already there.
- An order does not reach Mailchimp: check the statuses ticked in the "MailChimp" column of System, Order statuses. The log lines starting with "Error while adding order" end with Mailchimp's own answer.