
Installation
- 1) Download the plugin on our website via the download link provided to you after the purchase.
- 2) Install it on your Joomla website (extension manager).
- 3) Make sure the PDF Invoice plugin is installed, enabled and configured with your company details and legal mentions, as it produces the invoice content. The email address of your company shown on the invoice must be a sending address that is active on your Chaintrust account, otherwise Chaintrust rejects the invoices.
- 4) Create your account on the Chaintrust onboarding form, and once accepted you will receive a client id and a one-time token by email. Paste the client id and the token into the plugin configuration and leave the client secret empty: the first time the plugin contacts Chaintrust, it swaps the token for your client secret and saves it.
- 5) Choose the environment (test or live) and enable the plugin.
- 6) In System > Order statuses, select which statuses should trigger the sending to Chaintrust.
Configuration
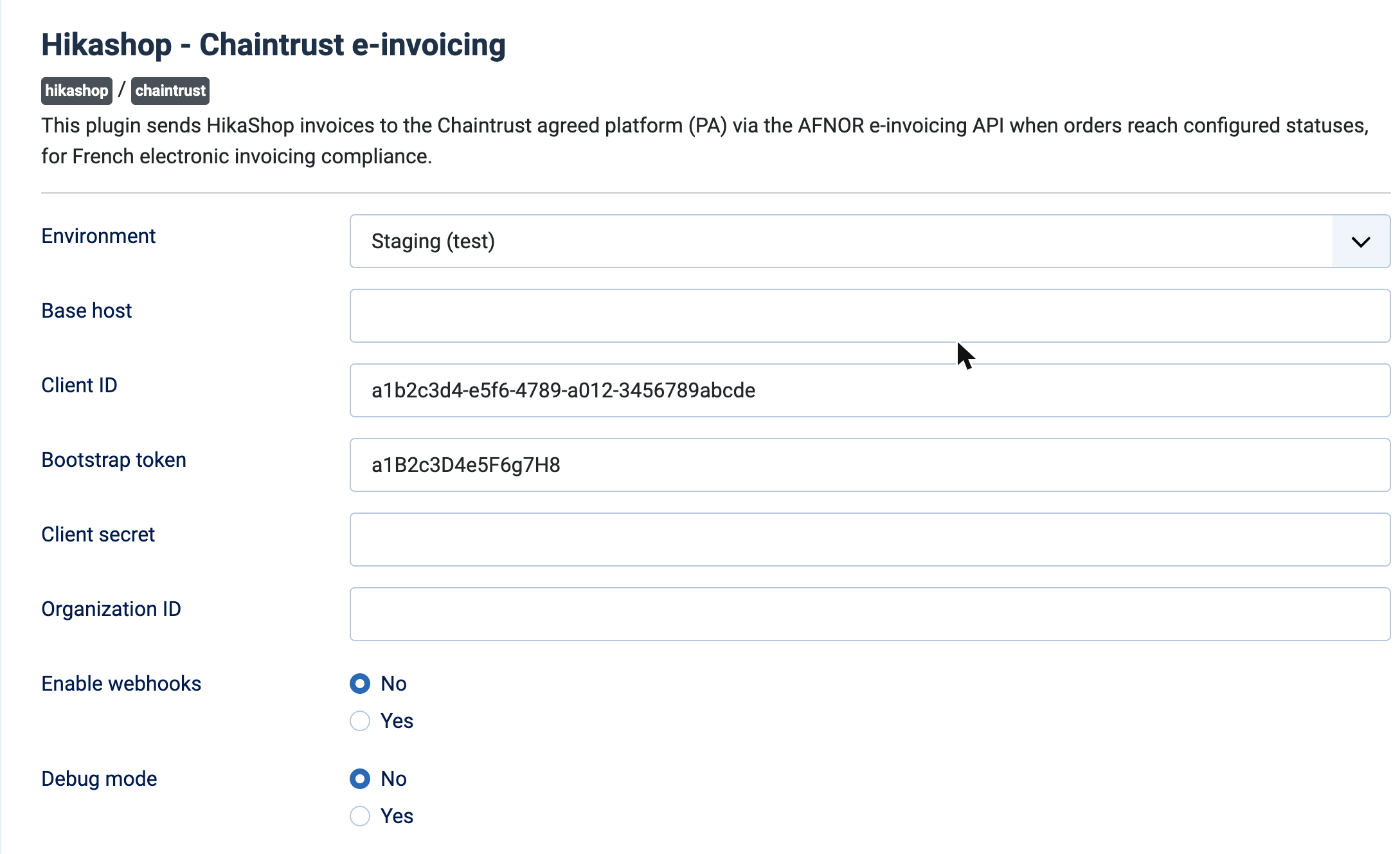
- Environment: Staging (test) sends to the Chaintrust test platform, where nothing has a legal value, so you can try the whole chain safely. Switch to Production (live) once your live account is active.
- Base host: the address of the Chaintrust platform. Leave it empty on Staging. For Production, enter the live address given by Chaintrust at go-live, as the plugin has no default for it.
- Client ID: the identifier you received by email once your Chaintrust account was accepted.
- Bootstrap token: the one-time token emailed by Chaintrust with your client id. Paste it here and leave the client secret empty: the first time the plugin contacts Chaintrust, for example when the first invoice is sent, it swaps the token for your client secret, saves it and empties this field. The token works only once.
- Client secret: the durable secret of your account. The plugin uses it, with the client id, to get an access token for every sending. Keep it private.
- Organization ID: only needed if Chaintrust gave you one for your account, for example when several companies share the same login. It is then sent with every request. Leave empty otherwise.
- Enable webhooks: Yes makes Chaintrust push the accepted or rejected result of each invoice back to your site, so the status on the order is updated as soon as it changes. It needs a site reachable from the internet. With No, the status is refreshed when you open the order in the backend.
- Debug mode: Yes writes the details of each sending to the HikaShop log file, to find out why an invoice was not sent. Keep it on No in normal use.
The order statuses that trigger the sending are chosen in System > Order statuses of HikaShop, not in these settings.